


Price: $12.99
(as of Apr 06, 2025 14:48:10 UTC - Details)
The Best Way to Apply Press On Nails: A Comprehensive Guide
Introduction
Have you ever wanted to achieve salon-quality nails without the hefty price tag or the time commitment? Press on nails might just be the answer you’ve been looking for! They are a fantastic option for anyone seeking a quick and easy way to elevate their look. In this article, we’ll delve into the best way to apply press on nails, ensuring your manicure stays flawless for as long as possible. We’ll cover everything from preparation to removal, using essential keywords and long-tail phrases that will guide you through each step of the process. So, let’s get started on your journey to stunning, hassle-free nails!
Preparing Your Natural Nails
Why Nail Preparation is Crucial
Before applying your press on nails, it’s essential to prepare your natural nails properly. This step is often overlooked, but it can significantly affect how well your press on nails adhere and how long they last. Clean, well-prepared nails ensure a smooth application and prevent lifting or peeling.
Steps to Prepare Your Nails
-
Clean Your Nails: Start by washing your hands with soap and water. Make sure to remove any old nail polish, dirt, or oil from your nails.
-
File and Shape: Gently file your natural nails to your desired shape. This helps the press on nails fit better and increases adhesion.
-
Push Back Cuticles: Use a cuticle pusher to gently push back your cuticles. This helps to create a clean surface for your press on nails.
-
Buff the Surface: Lightly buff the surface of your nails. This roughens the nail slightly, providing a better grip for the adhesive.
- Clean Again: Wipe your nails with an alcohol wipe to remove any dust or oils left from filing and buffing.
Choosing the Right Size Press On Nails
Finding Your Perfect Fit
Choosing the right size of press on nails is vital for a natural look. Ill-fitting nails can lead to discomfort and a less polished appearance.
How to Measure Your Nails
-
Measure Each Nail: Use a ruler or a measuring tape to measure the width of each nail. Most press on nail kits come with a sizing chart.
-
Try Before You Apply: Once you have your press on nails, hold them against your natural nails to ensure a snug fit. If they’re too wide, you may need to file them down.
- Consider Nail Shape: Different press on nails come in various shapes (square, oval, almond). Choose a shape that complements your fingers for the best look.
Applying Press On Nails
Step-by-Step Application Process
Now that your nails are prepped and you’ve chosen the right sizes, it’s time for the fun part—applying the press on nails!
-
Choose Your Adhesive: Most press on nails come with adhesive tabs or glue. For longer-lasting results, nail glue is often recommended.
-
Apply the Adhesive: If using adhesive tabs, place one on the back of the press on nail. If using glue, apply a small amount to the back of the nail.
-
Press and Hold: Align the press on nail with your natural nail. Press down firmly for about 10-15 seconds to ensure a strong bond.
- Repeat: Continue the process for all your nails, ensuring that each one is securely applied.
Caring for Your Press On Nails
Tips for Maintenance
Once your press on nails are applied, it’s essential to care for them properly to extend their lifespan.
-
Avoid Excessive Water: Try to keep your hands out of water for long periods, especially right after application. Water can weaken the adhesive bond.
-
Use Gloves: When doing chores or using harsh chemicals, wear gloves to protect your nails.
- Limit Impact: Be mindful of how you use your hands. Avoid heavy lifting or activities that might cause your nails to bend or break.
Removing Press On Nails Safely
Why Proper Removal Matters
When it’s time to take off your press on nails, doing it safely is crucial to avoid damaging your natural nails.
Steps for Safe Removal
-
Soak in Warm Water: Fill a bowl with warm water and soak your fingers for about 10-15 minutes. This helps loosen the adhesive.
-
Gently Pry Off: Use a wooden stick or a cuticle pusher to gently lift the edges of the press on nails. Do this slowly to avoid damaging your natural nails.
-
Use Acetone: If there’s any residual adhesive, you can use acetone to dissolve it. Just soak a cotton ball in acetone and apply it to the area.
- Moisturize: After removal, wash your hands and apply cuticle oil or hand cream to keep your nails and skin hydrated.
Conclusion
In conclusion, the best way to apply press on nails involves proper preparation, careful selection of sizes, and mindful application techniques. With a little care and attention, you can achieve beautiful nails that last. Remember to maintain and remove them safely to keep your natural nails healthy. Now that you have all the tips and tricks, you’re ready to rock your press on nails with confidence! Happy manicuring!
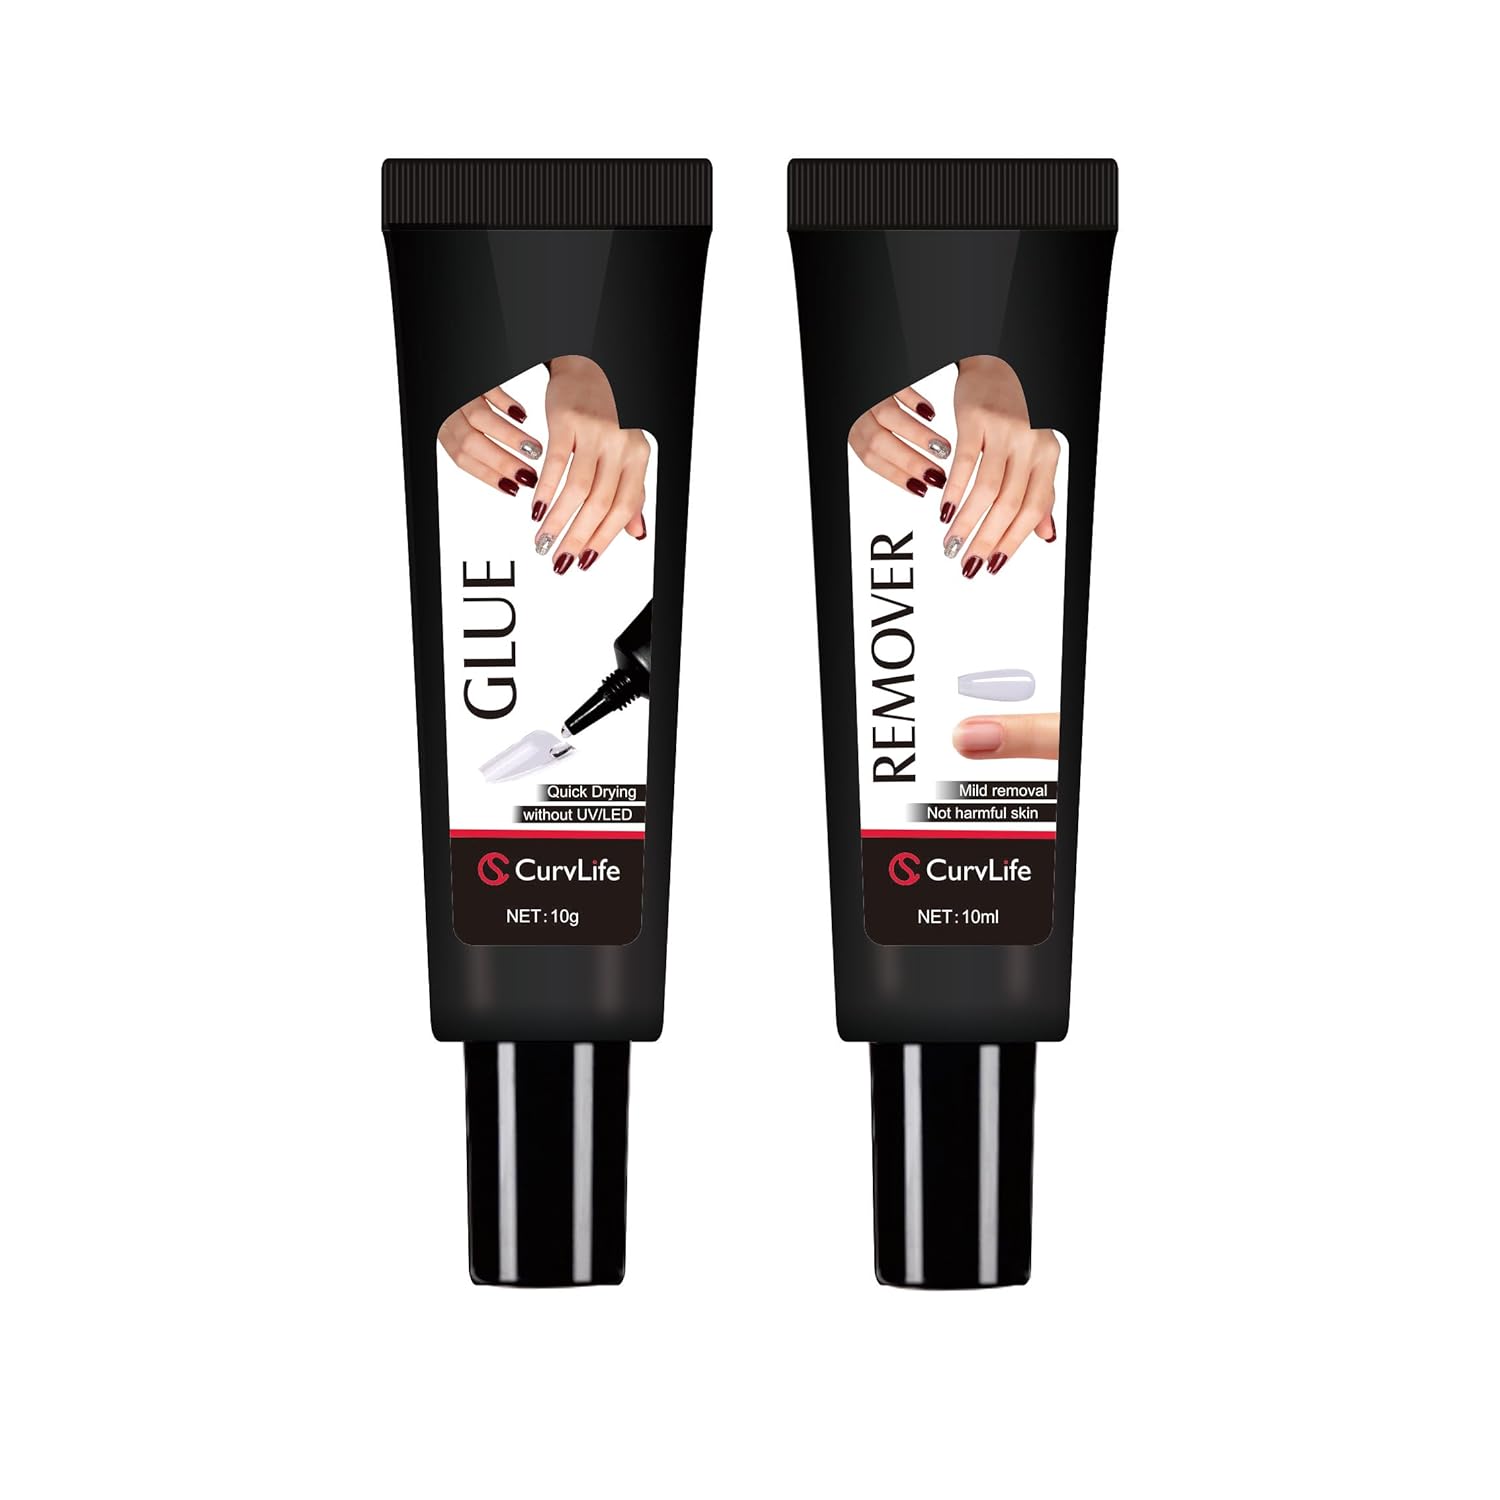
Exclusive Bundle Deal:newly upgraded quick-drying 10g solid nail glue paired with 10ml nail polish remover offers a convenient and efficient nail enhancement solution
Strong and long lasting: Our GLUE Ensures flawless results lasting
Easy to apply: Featuring a drip-proof and clog-resistant gel formula, our GLUE dries in just 10 seconds, with no need for UV light,providing a solution for un0even nails and enabling easy application of beautiful press-on nails
Effortless Removal: Our REMOVER utilizes a cutting-edge dropper design, effectively penetrating tight spaces between nails. In just 2-3 minutes, you can swiftly eliminate the product without the hassle of laborious removal procedures, saving you time and money
Beauty Simplified: With the use of our GLUE, you can securely attach artificial nails and nail art for various activities like hand washing, yoga, and typing. The REMOVER effortlessly and quickly eliminates any residue, ensuring a hassle-free nail care experience.